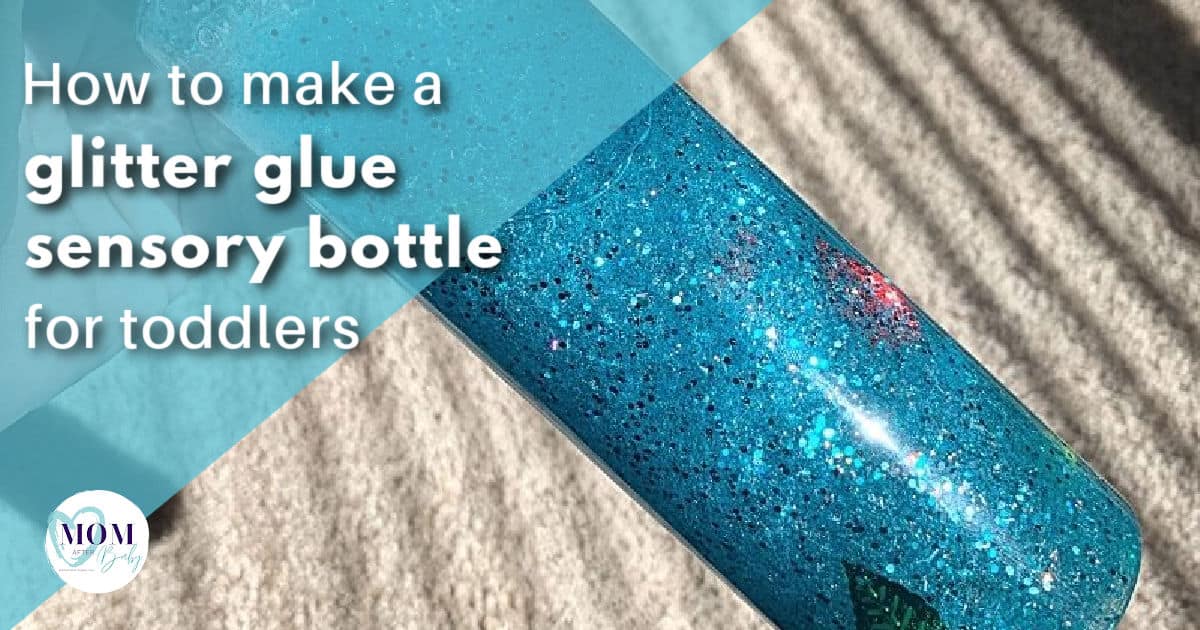
DIY Glitter Glue Sensory Bottle for Toddlers
This post may contain affiliate links that I may receive a commission from if you click & buy. In addition, the information on this site is NOT intended to be medical advice. See my full policy for more information.
If you’re a conscious parent like I am, you are likely always looking for more ways and tools to help your child confidently learn how to regulate their body, feelings, and sensory needs. Sensory bottles are a great tool for regulation. That’s why today I’ll walk you through how to make the easiest glitter glue sensory bottle for toddlers!
For the records, my kids LOVE this sensory bottle. They’re both 3 and under, but you can get pretty creative with these depending on the supplies you use.
We chose to keep it simple that way my young toddlers could be the ones who make their own bottles. Of course, I was there to help guide them, but they did all the ‘hard’ work.
This post may contain affiliate links from which I receive a commission if you click or make a purchase. This article is for informational and educational purposes only and is not intended to replace medical advice, diagnosis, or treatment. See my full policy for more information.
Supplies Needed for a DIY Sensory Bottle for Toddlers:
Making this sensory bottle with glitter glue is not only fun for your little ones to help with, but these calming glitter bottles can help your kids regulate when they’re feeling a little overstimulated.
- 8 oz bottle of glitter glue
- Sensory bottles (these ones are our favorite)
- Small beads, toys, or extra glitter (you’ll use this to place inside of your bottle)
- Hot water
What Else Can You Put in Your Sensory Jar?
There are many ways to make a glitter sensory bottle or even sensory glitter jars. Here are a few more ideas of other items you could put inside of your sensory jars:
- Food coloring
- Water beads
- Chunky glitter
- Small toys
You can often find tons of great little fillers from your local dollar store. Making it a win win because it’s cheap and you usually get a decent quantity to make future calming jars or other crafts.
How to Make Your Glitter Glue Sensory Bottle
Trust me when I say, these sensory bottles with glitter glue are very easy to make. Just follow along with the instructions below and you’ll have yourself a sparkly glitter glue sensory bottle in 5 to 10 minutes!
Step 1: Pour the glitter glue
If you have an 8 ounce bottle, squeeze half (4 oz) of the glitter glue into your sensory bottle. Repeat this for however many bottles you will be making.
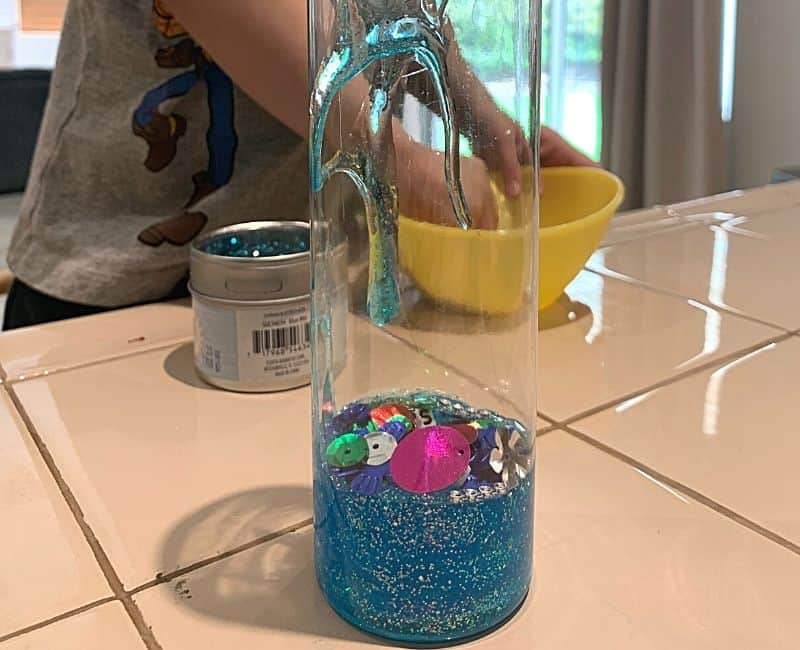
Step 2: Add in the fillers
My boys decided to put alphabet beads, some sequin shapes, and more glitter into their bottles. You can add anything you want so long as it is small, light, and can easily be shaken up.
Step 3: Fill with warm/hot water
This is the adult step. Fill the remaining 2/3rds of your bottle up with warm to hot water. This will help break up the glue so it can have that lava lamp type of texture when it’s swirled around. You can use more or less glitter glue depending on the texture your kiddos prefer.
More glue means less movement, less glue means more swishy movement. Make sure to give your sensory bottle a good shake after filling it with water to make sure you’re happy with it before gluing the lid shut in the next step.
Step 4: Glue the lid shut
This is the final step — gluing the lid shut. Many of these sensory bottle tutorials always suggest using a hot glue gun, but unfortunately I don’t have one, so I used super glue instead.
I simply put a thin amount of super glue on the lid’s threading and then twisted it on tightly. I waited around 5 minute before letting my boys use their sensory bottles and that thing was sealed shut!
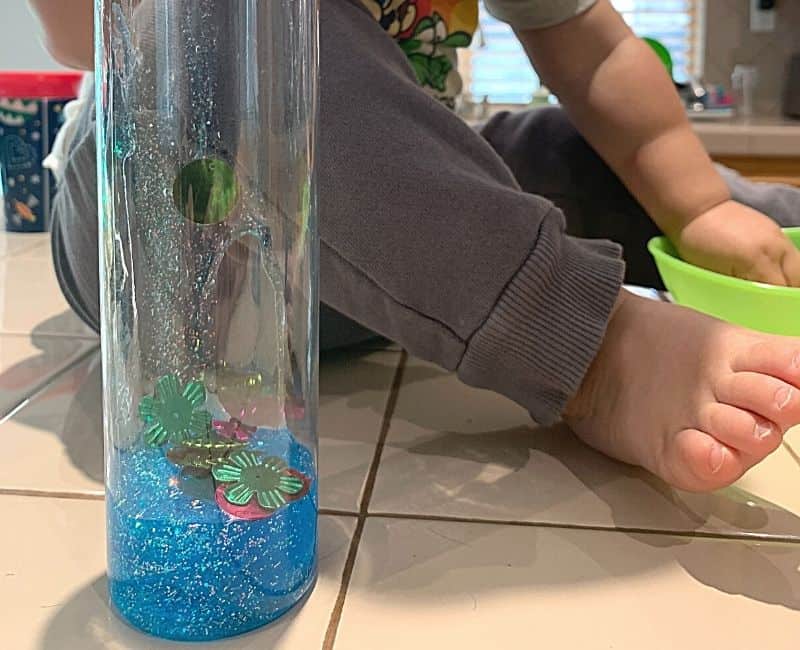
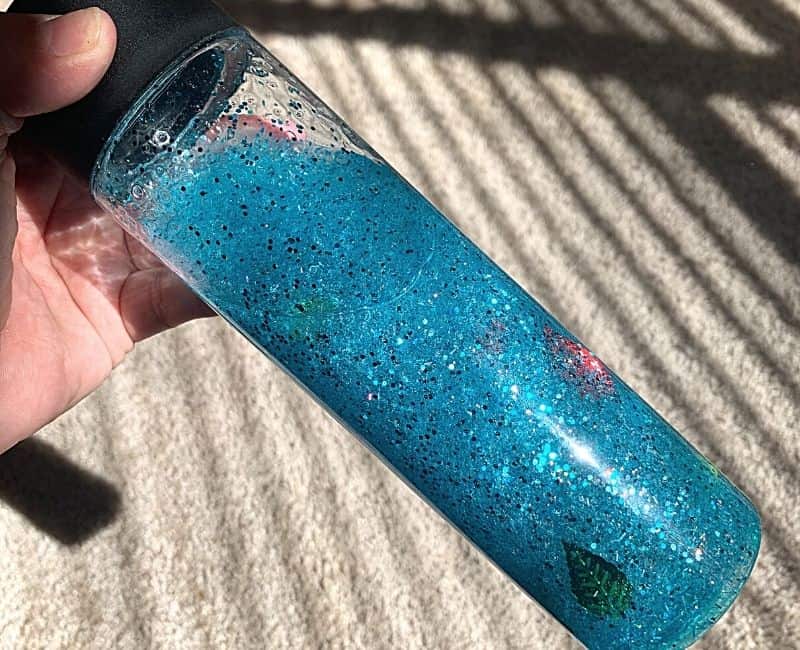
Now, your littles can enjoy looking at all the fun, sparkly items floating around in their glitter glue sensory bottles.
What if I Don’t Want to Use Glue?
Using glitter glue is not the only way to make a super cool sensory bottle. It’s my favorite way becuase it’s easy and you can find Elmer’s Glitter Glue just about anywhere.
However, here are a few other sensory bottle recipes you can try out:
- Corn syrup sensory bottle recipe: 1/3 corn syrup and 2/3 warm water (you can add in some glitter glue, but try to avoid fine glitter)
- Hand soap sensory bottle recipe: 1/2 hand soap and 1/2 water
- Glycerin sensory bottle recipe: 1/3 glycerin and 2/3 warm water
- Baby oil sensory bottle recipe: 1/2 baby oil and 1/2 water
The amount of glitter you add to these calming bottles is your preference.
Give your next calm down bottle a try with one of these recipes above and see which one your child likes best.
Why Do Kids Love Sensory Bottles with Glitter Glue?
Sensory bottles are a wonderful way to expose your child to fun visual stimulation and sensations that help stimulate your child’s brain in a developmentally appropriate way.
They’re often found to be soothing by many children as they can watch the liquid swish around while looking at all of the visually stimulating items floating around inside.
In particular, glitter glue sensory bottles provide an extra sense of calm, making it a great tool to help your child regulate him or herself. This is why many parents and educators love keeping sensory toys in their play area or calm down corner.
Benefits of Sensory Bottle Play
The best part about making sensory bottles is that you can let your imagination run wild! Depending on what items you place inside of your sensory bottle, you’ll enjoy many benefits that include:
- Fine motor skills/development
- Self-regulation
- Early math learning (counting, identifying numbers, etc…)
- Language development (through identifying what they see: colors, shapes, patterns, etc…)
For some children, their sensory bottles are literally a source of comfort! Meaning they’ll bring it with them when they travel, in the car, on a walk, etc… so as you can see, sensory play has so many benefits.
Even if it’s just in a bottle.
If your little one enjoyed making their own glitter glue sensory bottle from this tutorias, please tag me @mom.afterbaby on Intagram so I can see their creation! Enjoy the glitter glue sensory bottle making fun!